
First you need to lay out the area where the yurt will eventually sit. A template like this can help you identify exactly where the support points are for your specific size of yurt.
This gives you some idea on how it can be done in Idaho… your own mileage may vary, depending on your location and the skill of your construction crew.

First you need to lay out the area where the yurt will eventually sit. A template like this can help you identify exactly where the support points are for your specific size of yurt.

This yurt is to be supported by 4x8 pillars resting on concrete footings that go deep into the ground. By using the hydraulic auger and a few blasting caps, we were able to get access as deep as 6-feet into this rocky soil.
Here you can see where a hapless worker slipped into one of the holes.

The deep shaft was then filled with cement and a reinforced footer/riser was then formed to sit flush with the final grade.

The wooden posts were then attached to the anchors that are embedded deep in the concrete.
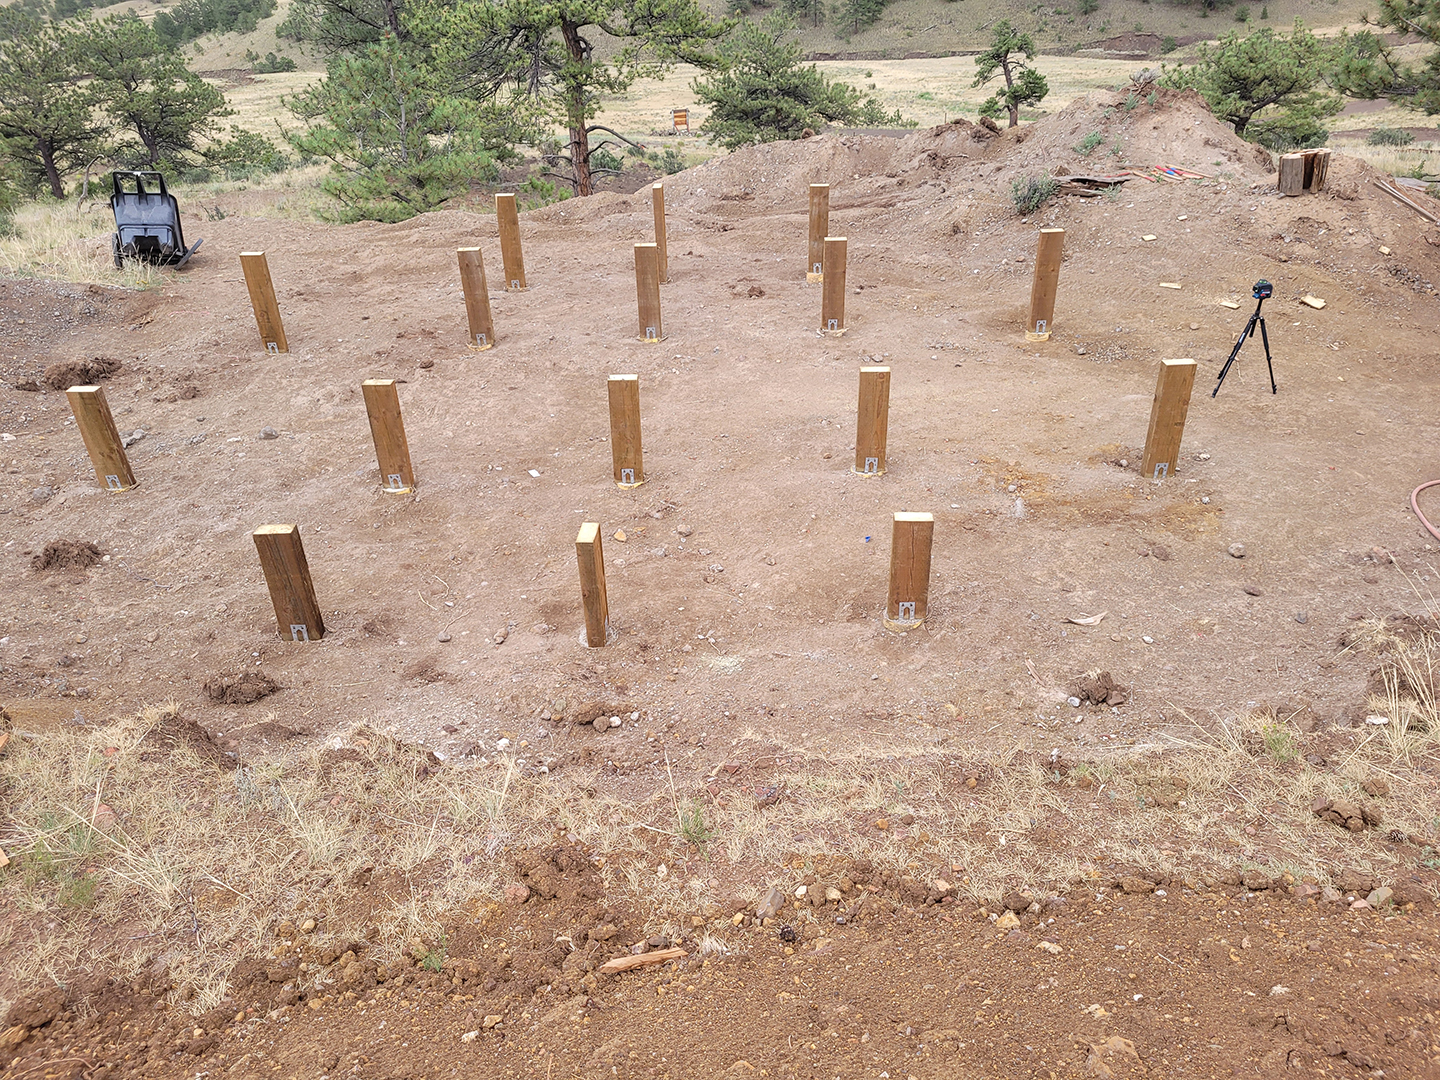
The positioning of the pillars was laser-precise, as verified by military-grade drone and ground-mounted instrumentation.

A frame of laminated 2x10s was placed atop the pillars using a sky-crane. The sewer drains have already been laid beneath the structure.

A platform of structurally insulated panels was then laid on the frame. These panels were hand-fitted to exact tolerances, then screwed and glued into place.
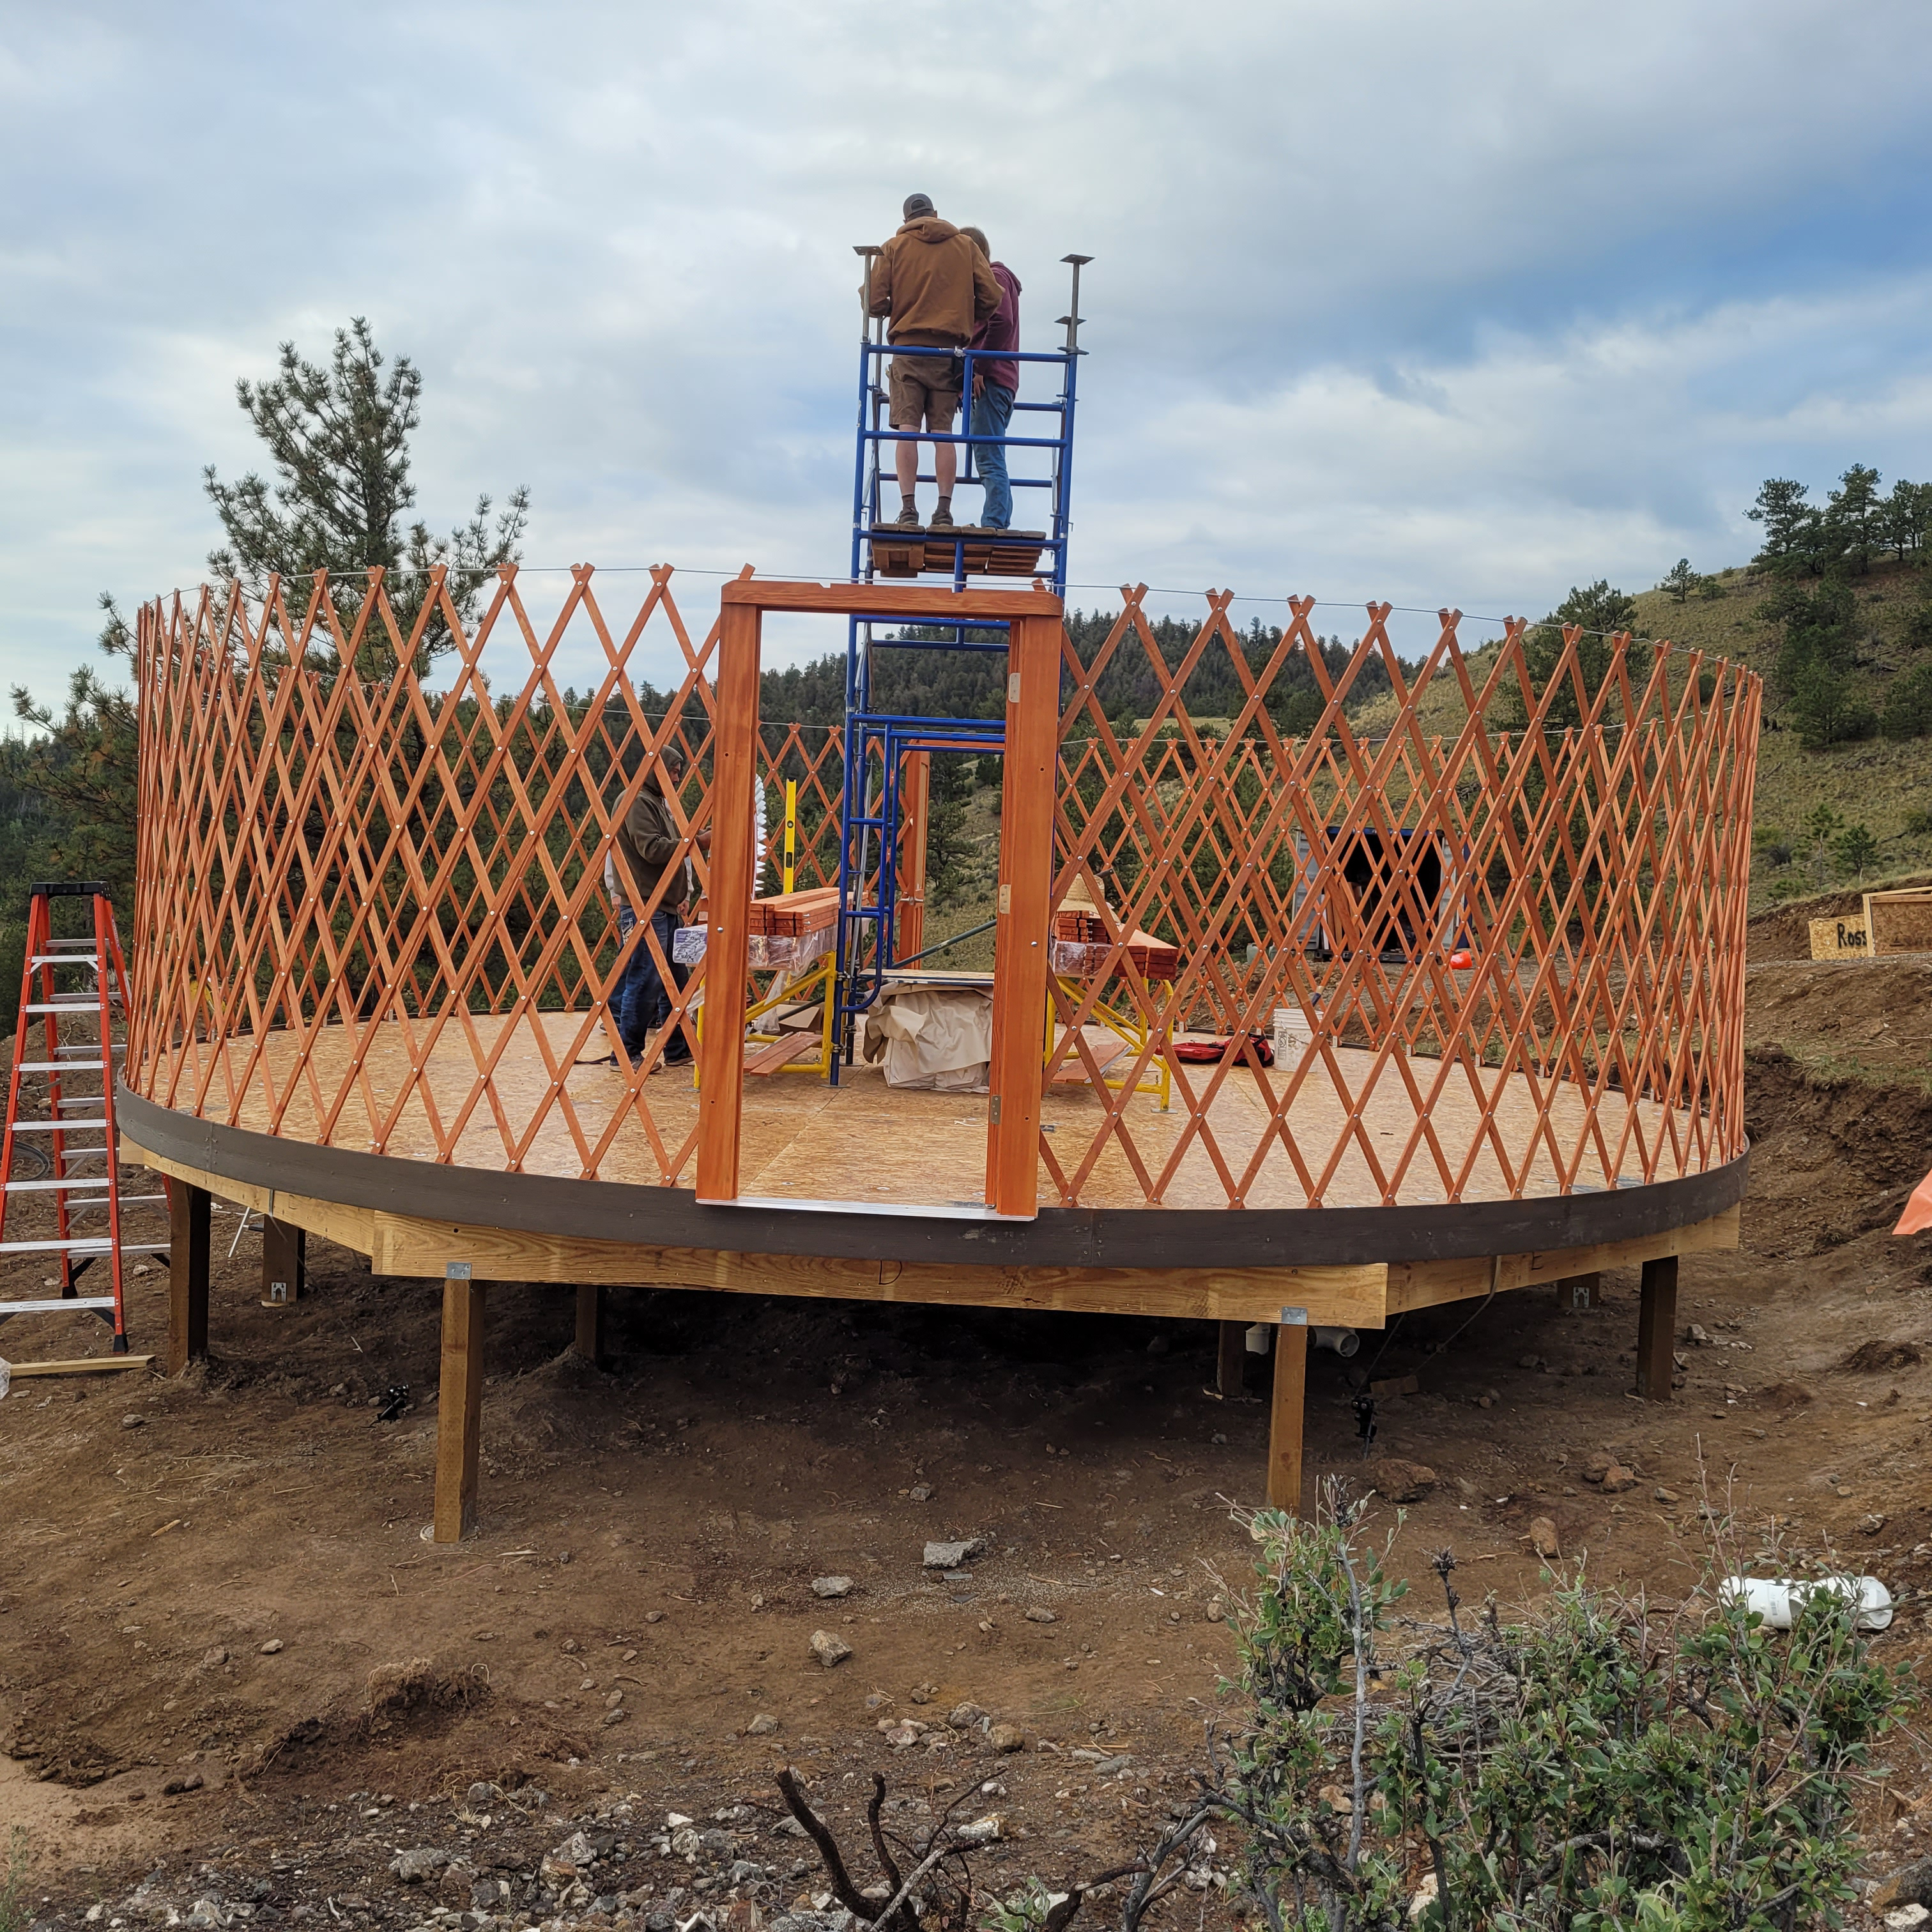
Lattice walls and top cable were then put in place and the location of the doors was established..
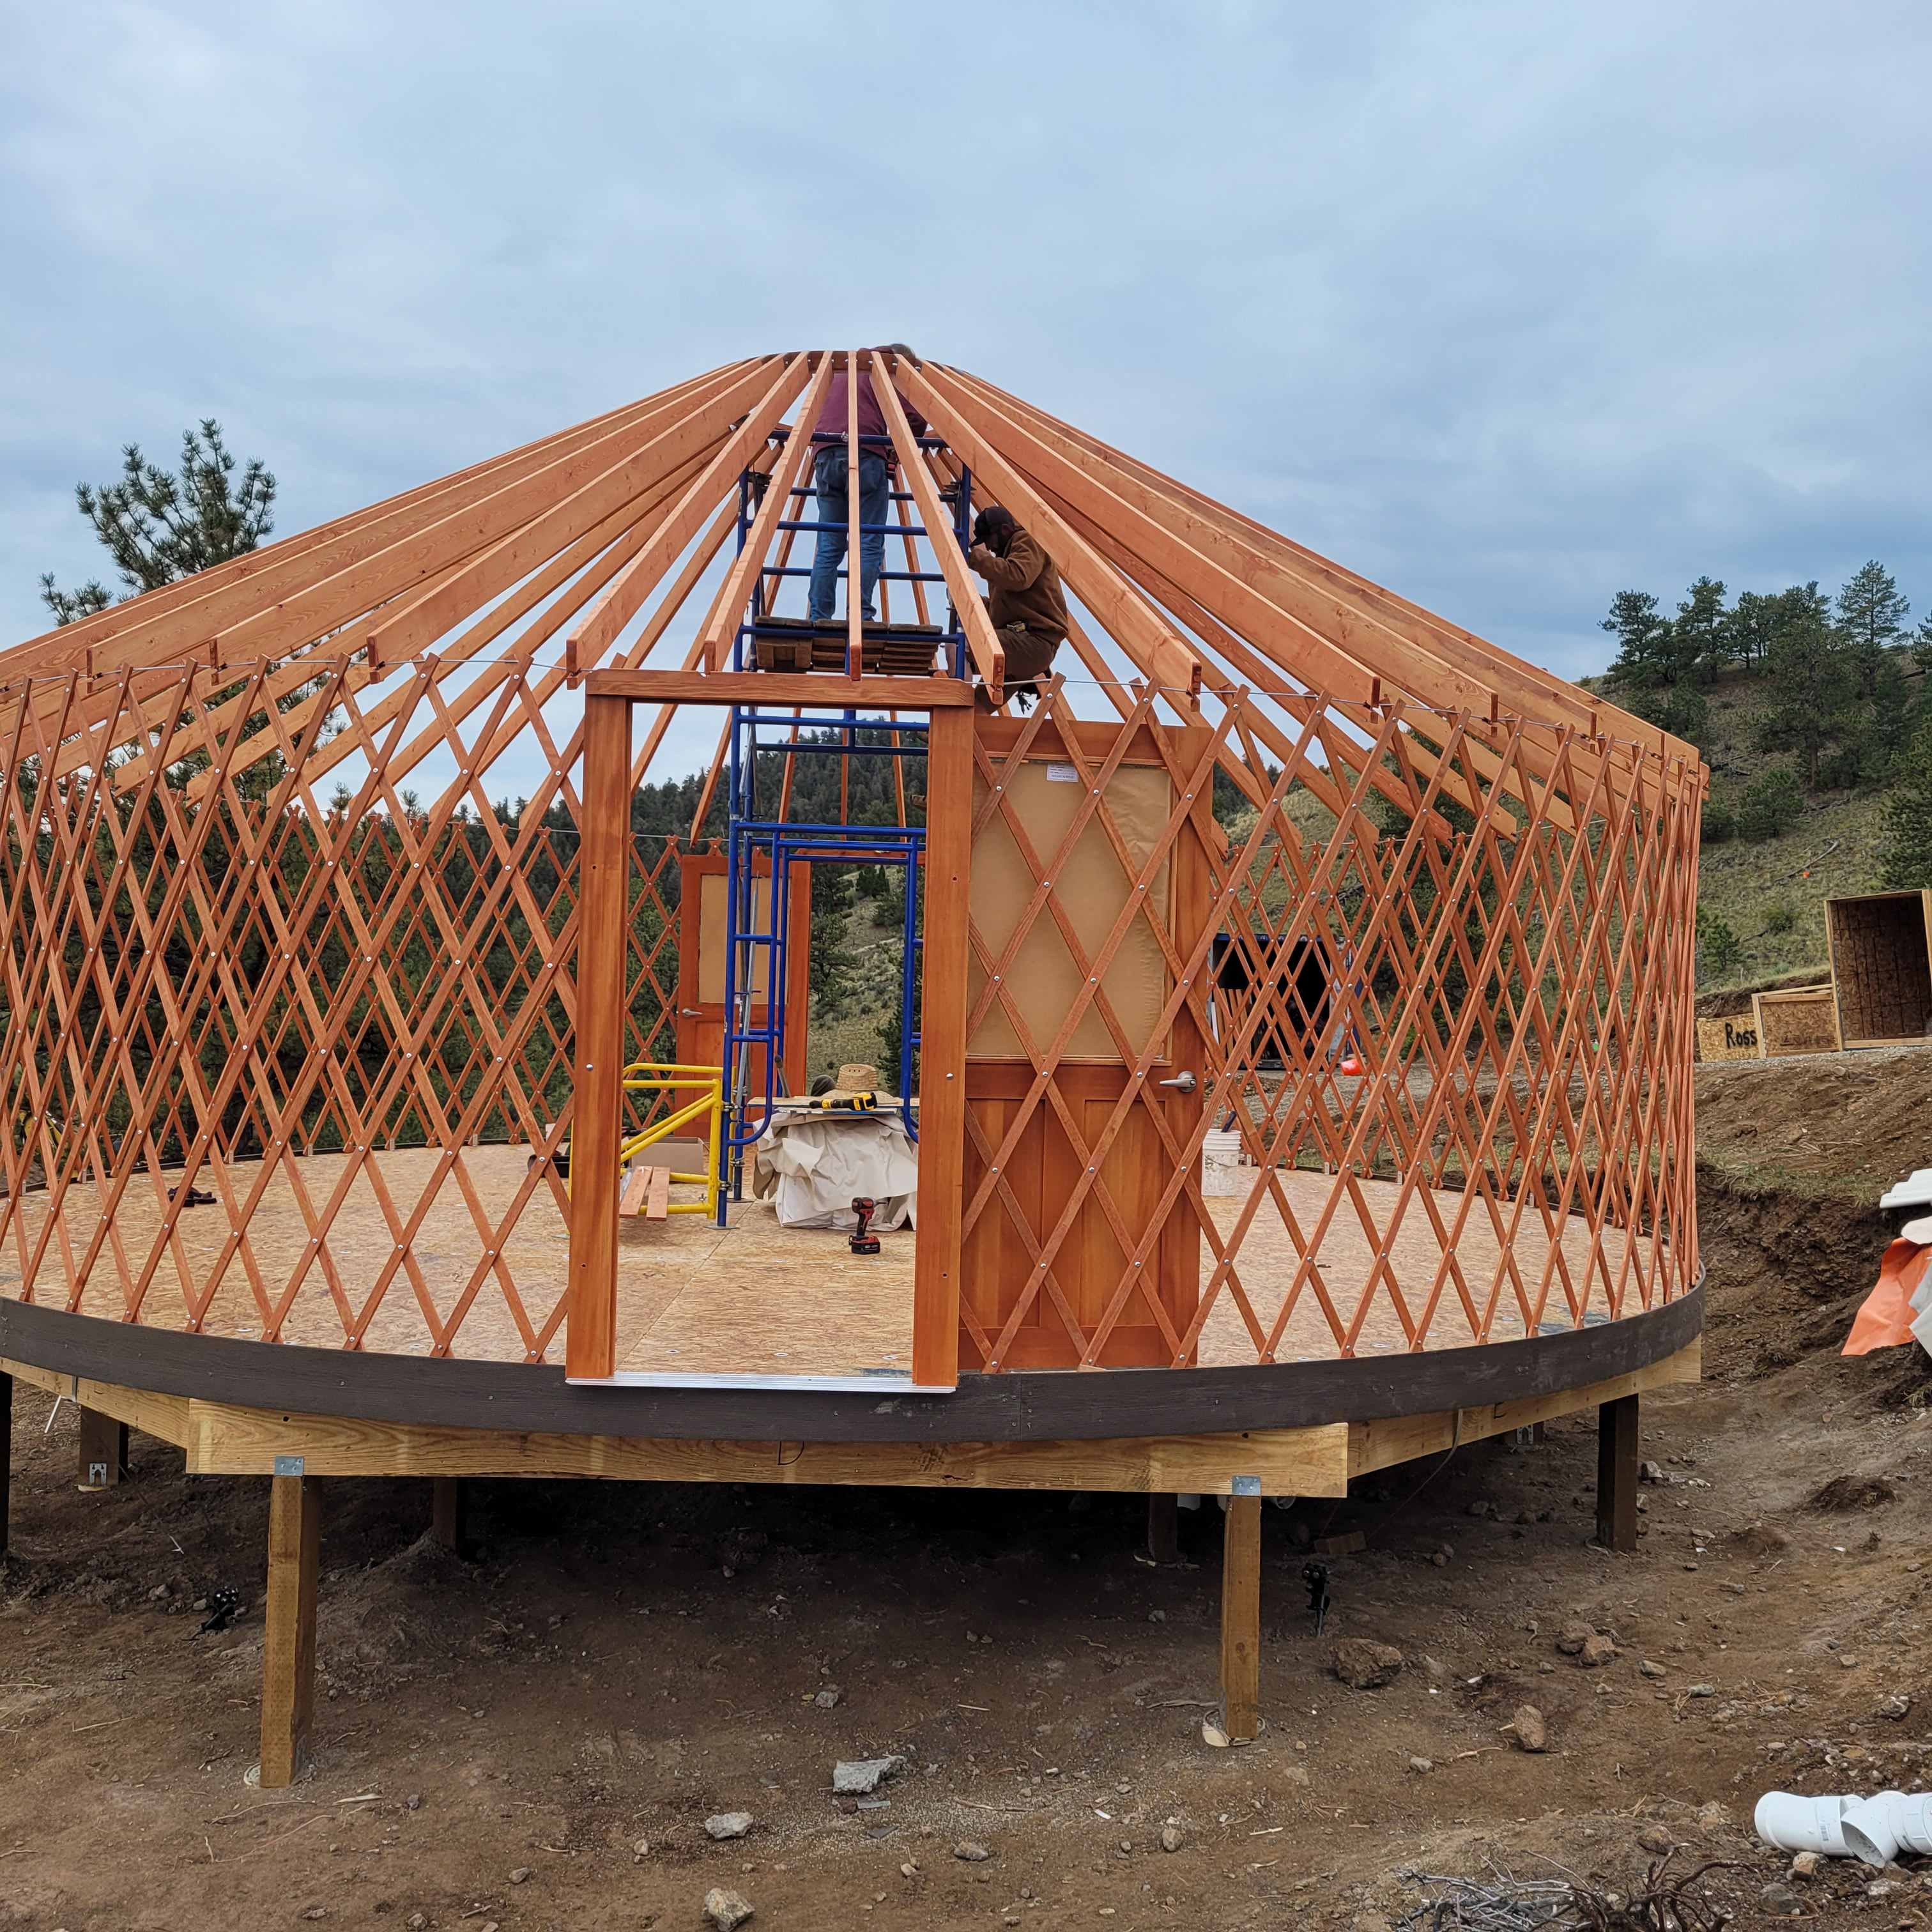
The cable holds the rafters in place and causes pressure outwards.

Next came the insulation of the top.
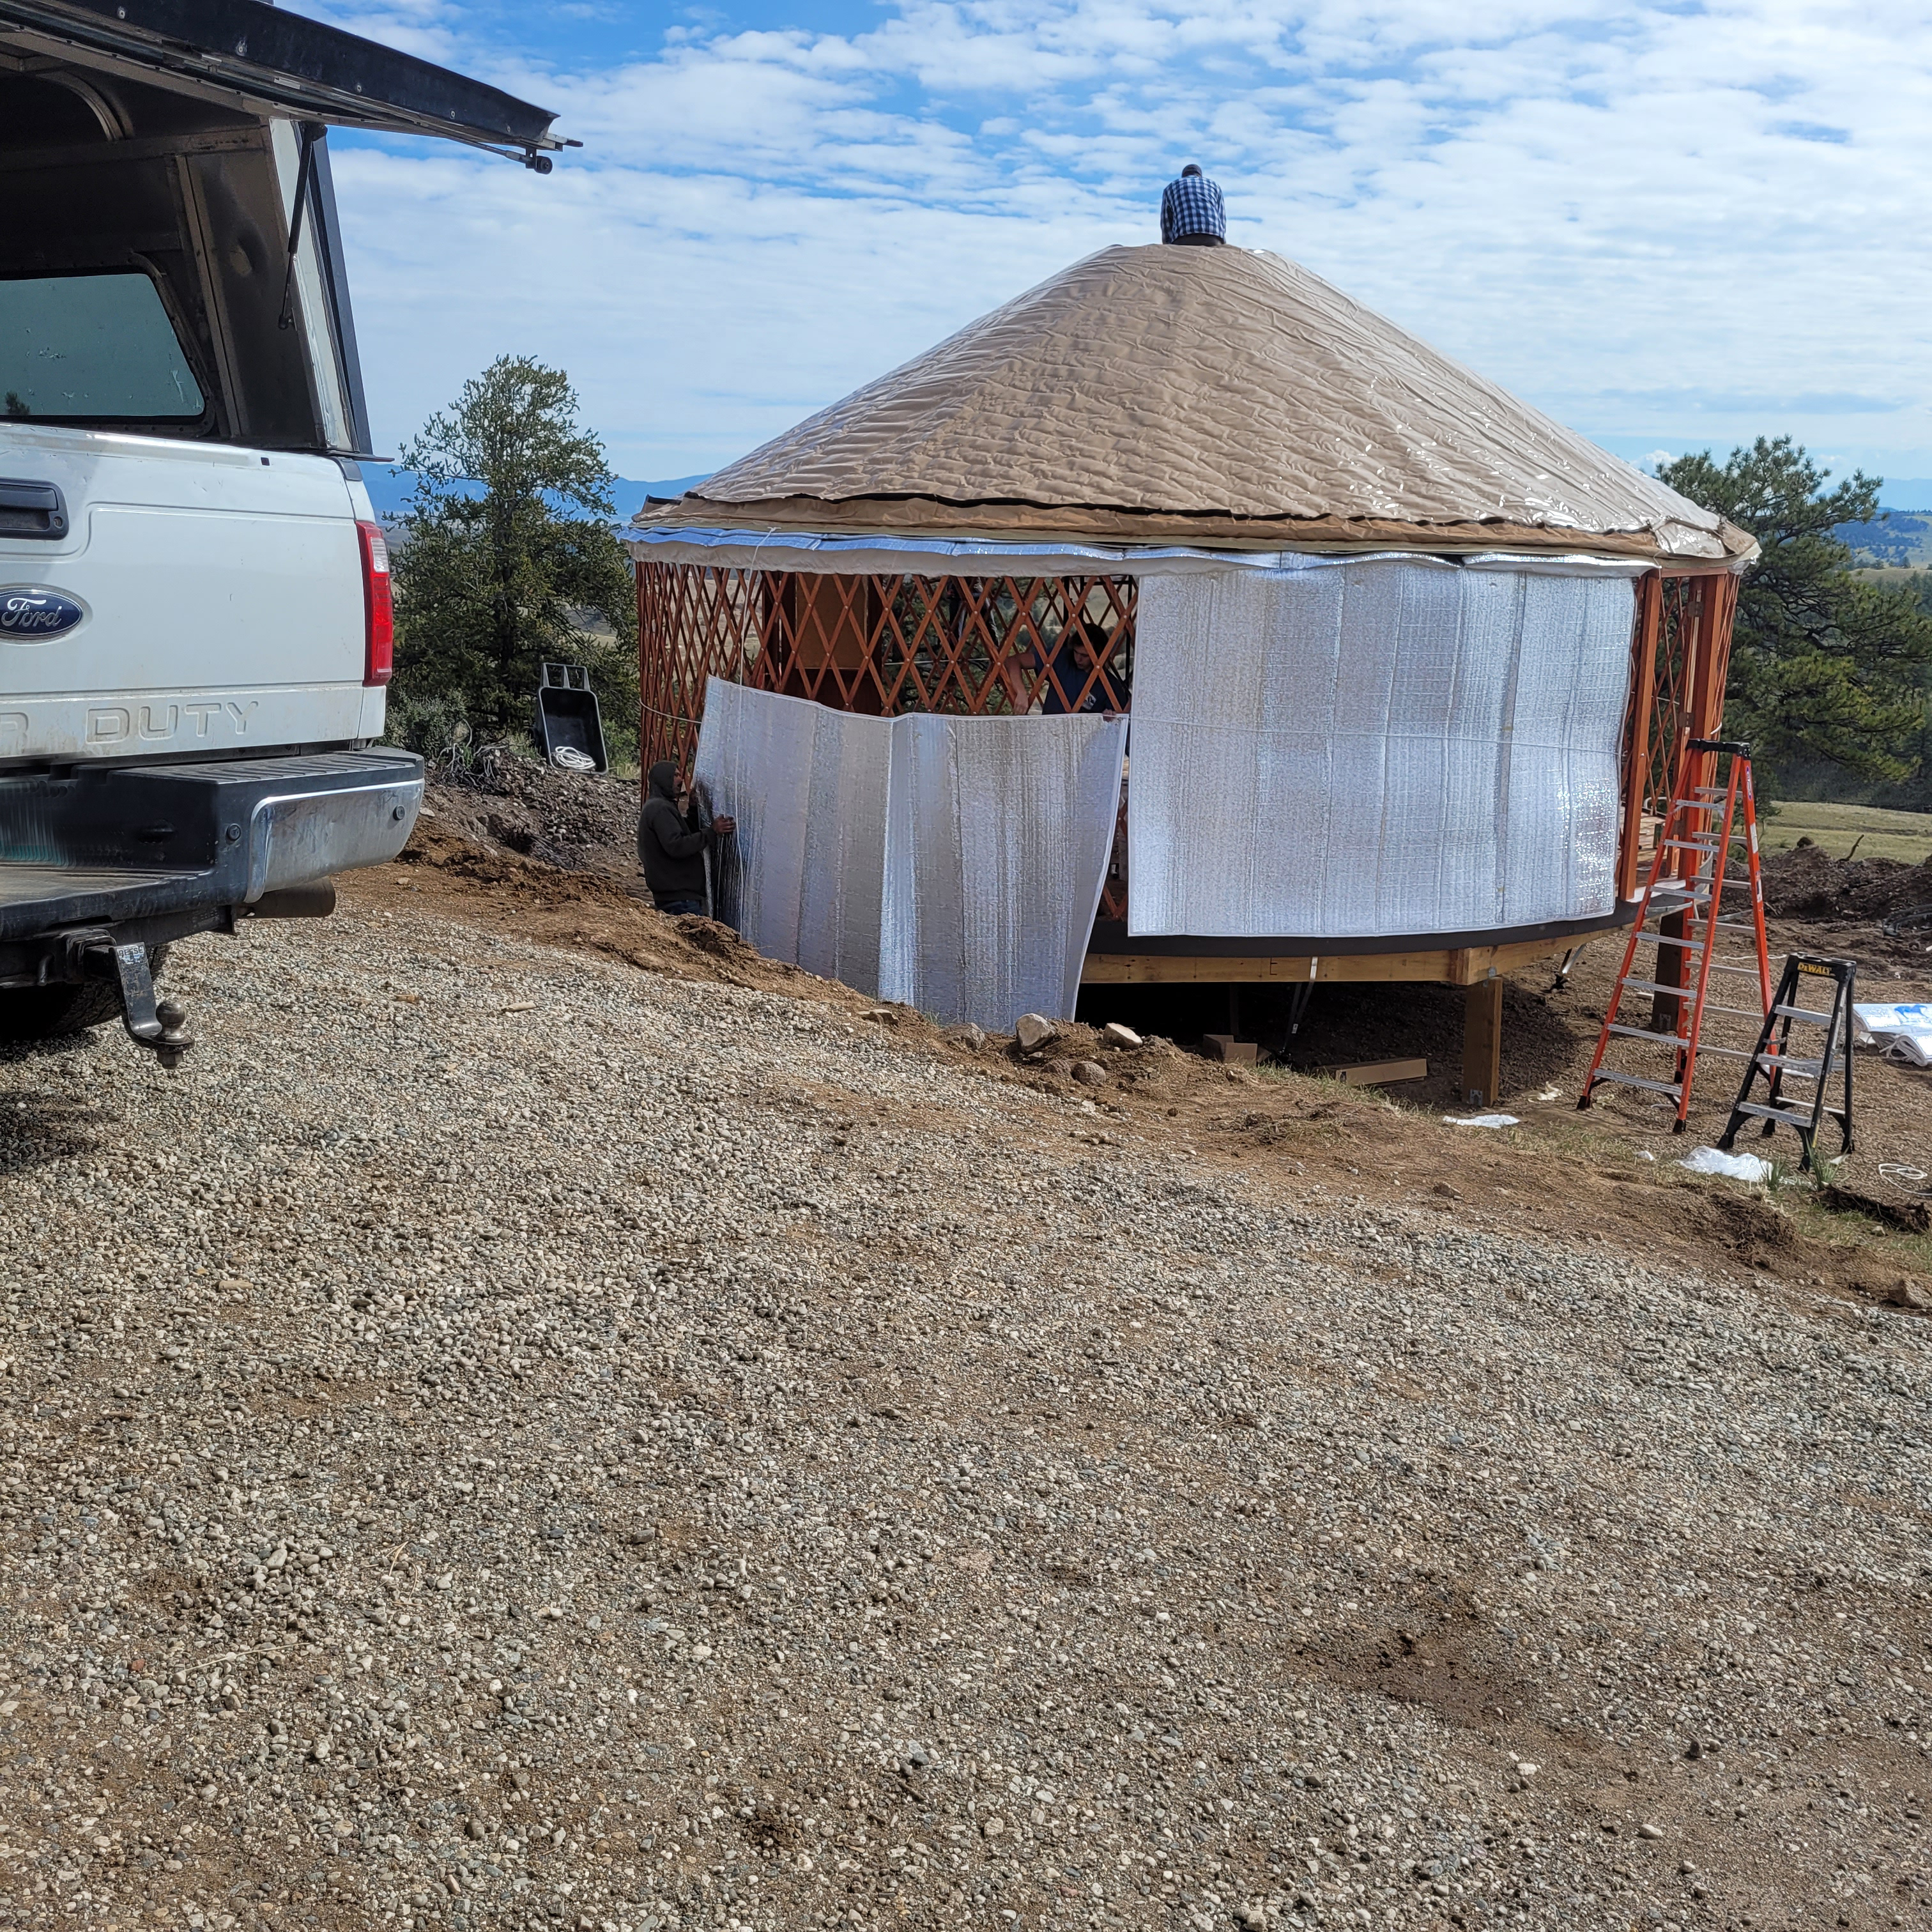
Heavy sidewall insulation came next as the final skin to the upper section was added.
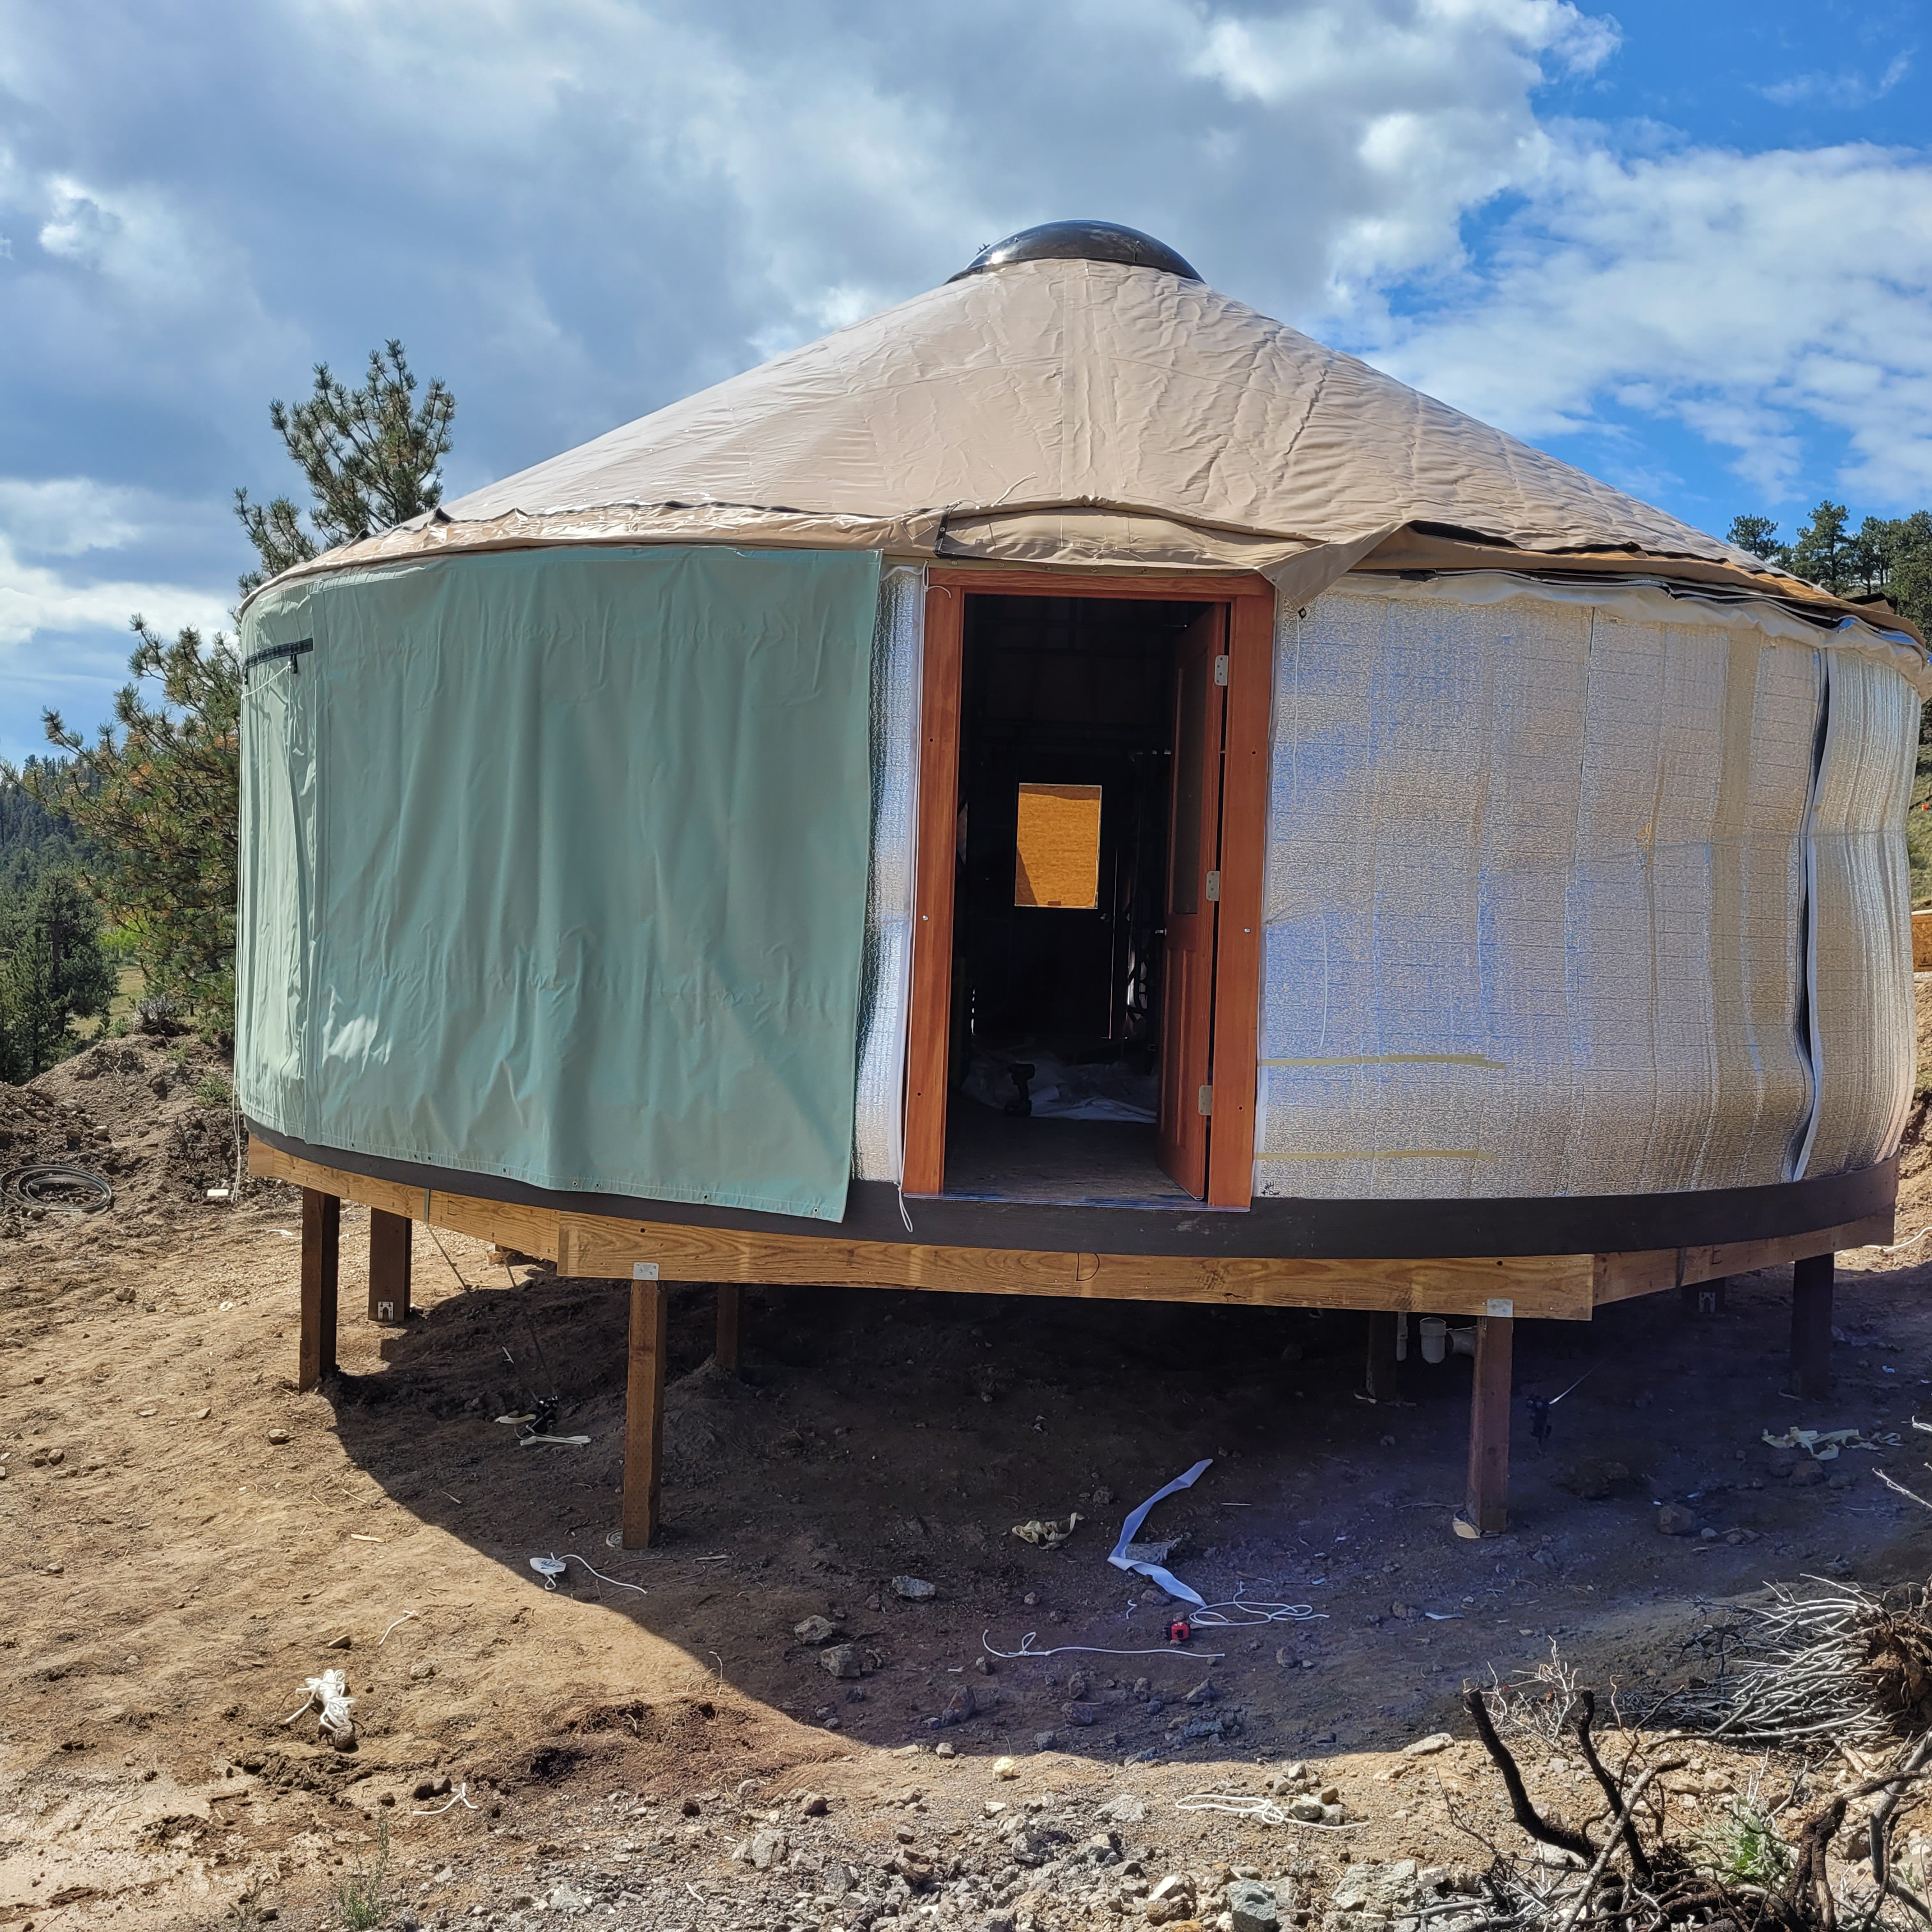
Exterior walls came next.

The outer skin was then buttoned up and finalized.


Here is the interior as a finished product, both walls and ceiling.

And soon after, an entry deck and stairs were added.
Next up: woodstove flue support and interior walls....
A video tour of the finished yurt...
click here and wait for the file to load.
